GitLab and PyCharm
Here, you will learn how to integrate GitLab with PyCharm, push and pull the contents in PyCharm and get an access to all codes and other files, relating the tutorials.
Installation
Visit https://git-scm.com/downloads and install Git for your OS.
Registration
Visit to FH Aachen version of gitlab http://git.fh-aachen.de and sign in with your personal FH-Kennung and password.
Search group called Group Uno. Project name is mascor-python-project.
Here, you can refer to WordCounter folder where you can download python files from the tutorial.
Create a new repository in GitLab
Here, we will learn how to create our personal Gitlab repository.
Sign in http://git.fh-aachen.de and go to GitLab menu. On the top right hand side you can see New Project.
Press it and create a new project. Give your own project name, let us say, it2_praktika.
Choose a Visibility Level as Public, so that the project can be accessed without any authentication. No need to initialize repository with a README.
Press Create project. After a successful creation a new repository in GitLab, you see instructions how to initialize the repository. We will use them in next section.
Now we can move to PyCharm to learn how to commit, push and pull the files.
Pushing and pulling the contents
After creating a new project on GitLab, we go to PyCharm.
Search Plugins in PyCharm’s Settings menu. Then, search for GitLab Projects and install it.
You will be prompted to restart PyCharm.
Now, once PyCharm is re-loaded, go to Version Control --> GitLab in the Settings menu.
Enter the URL https://git.fh-aachen.de/ in GitLab Server Url.
Now you have to fill in the GitLab API Key. To do this you have to paste in your personal access token provided by GitLab. If you do not know it, simply log into your GitLab account, go to settings -> account -> access tokens.
Simply create a new one (make sure you select for api). Copy the generated token key and paste in the respective settings field in PyCharm as mentioned earlier.
Set prefferred checkout method to HTTPS.
Press apply and ok, now you are set to go.
Once you created a new project in PyCharm, now it is time to commit. Open terminal in PyCharm and paste the instructions from the main page of your GitLab project:
git config --global user.name "Your USERNAME"
git config --global user.email "Your EMAIL"

cd "PRAKTIKA SUBFOLDER" # If necessary --> we don't want to have binary files from "venv" in our repo.
git init
git remote add origin https://git.fh-aachen.de/"YOUR LOGINNAME"/"YOUR REPO NAME".git
git add .
git commit -m "Initial commit"
git push -u origin master
Then, if you refresh your GitLab page, you can now see your Pycharm project.
Now let us create a new python file and call it test.py. We learn how to save this file directly to Git repository.
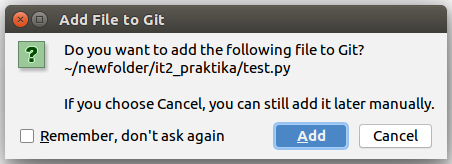
Once you create a file New --> Python File, there is a pop-up menu, where you are asked to add a file to Git. By pressing Add, you automatically add it to Git:
Once you have finished with test.py, use following codes in the terminal of PyCharm:
cd existing_folder
git add .
git commit -m "second (third, fourth, etc.) commit"
git pull origin master
git push -u origin master
There is an alternative way to add a file to Git. Once you create a file New --> Python File, there is a pop-up menu, where you are asked to add a file to Git. By pressing Add, you automatically add it to Git:
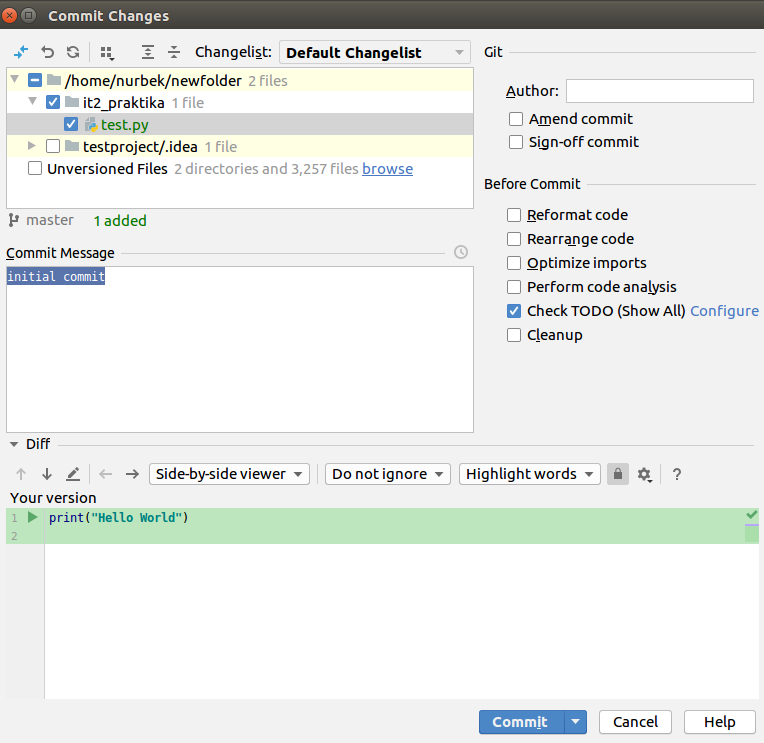
Once you added it, you have to commit it:
During the commiting process, you have to choose the file you are working with (if it is not checked) and write any commit message. Press Commit:
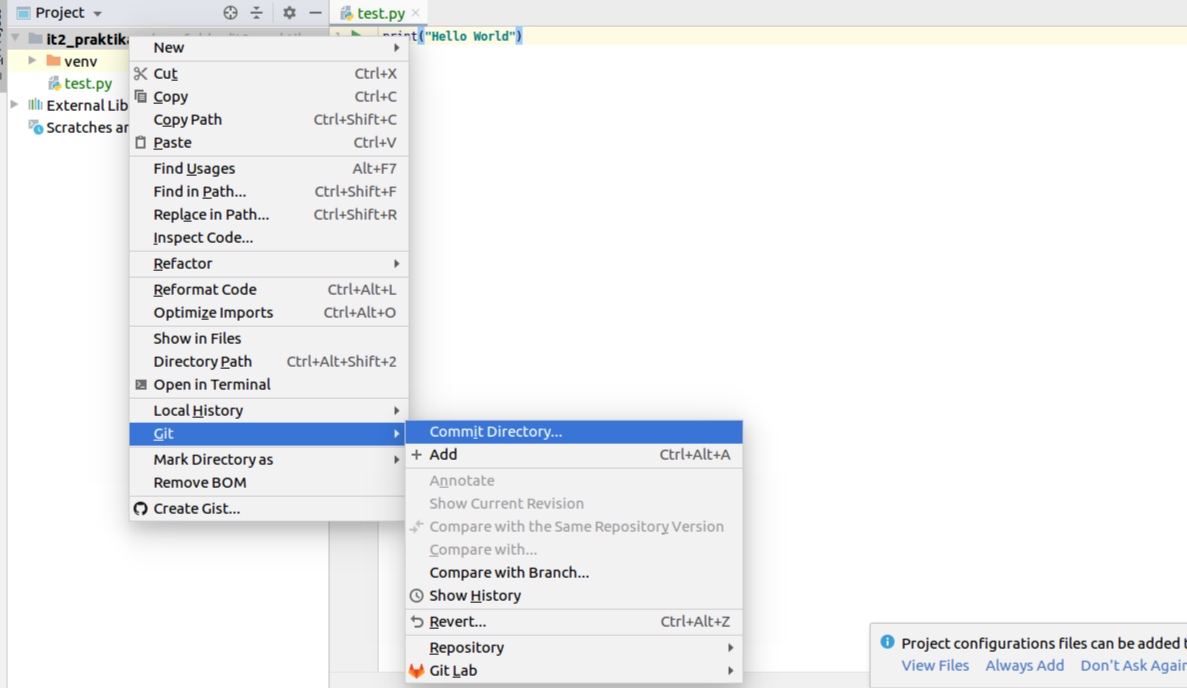
Once you commited, press right hand button of mouse and go to Git --> Repository --> Push. You push the file to your personal GitLab repository.
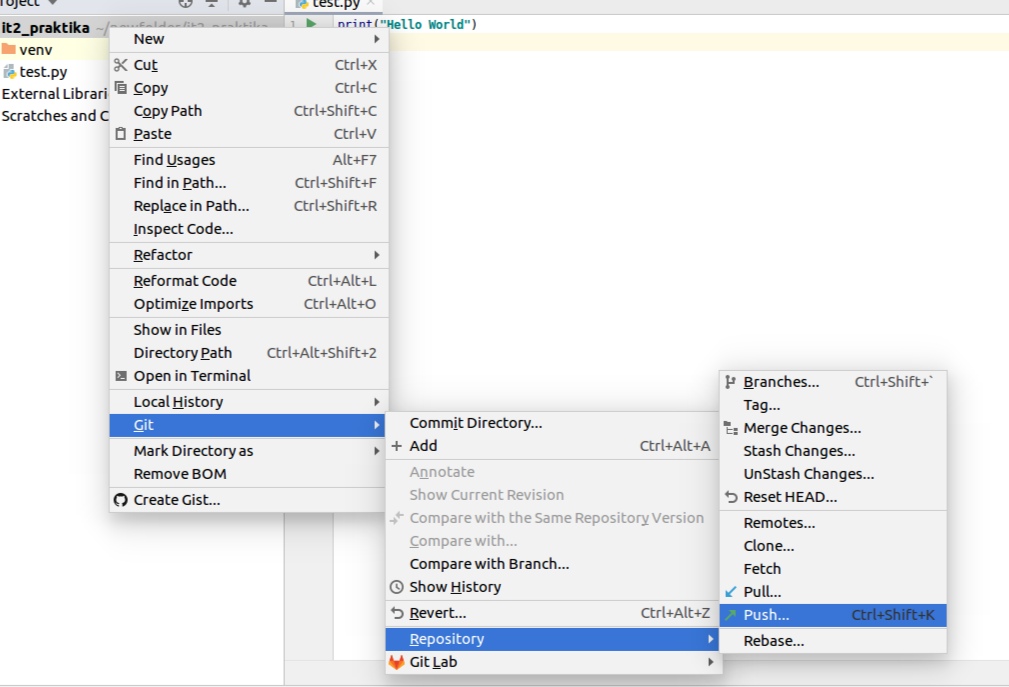
Then push it:
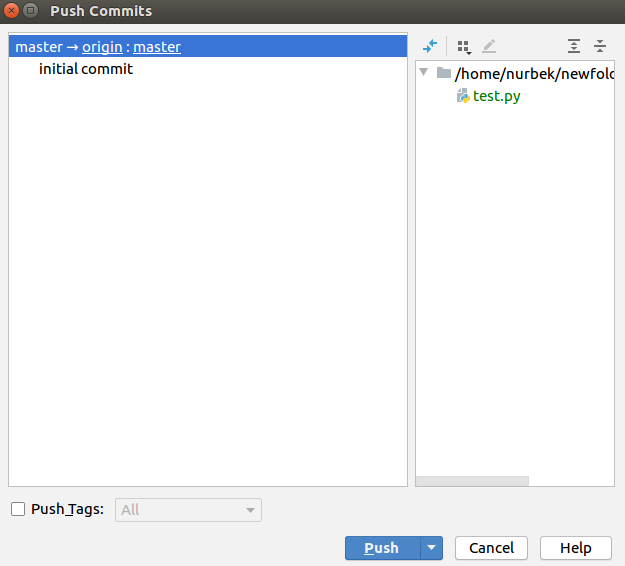
After refreshing your GitLab page, you can see that a new content is added.
There is an alternative way to add a file to Git. Once you have finished with test.py, use following codes in the terminal of PyCharm:
cd existing_folder
git add . # Just once for new files. Not for changes.
git commit -m "second (third, fourth, etc.) commit"
git pull origin master
git push -u origin master
Now, we move to our first tutorial called Word Counter in Python. There, you have to push each python file you created directly to git repository using the same rules we have seen above.